While being locked down in Switzerland during the whole Corona mess, I have now time to sort out my travel notes, including the pile of the recipes from Sri Lanka
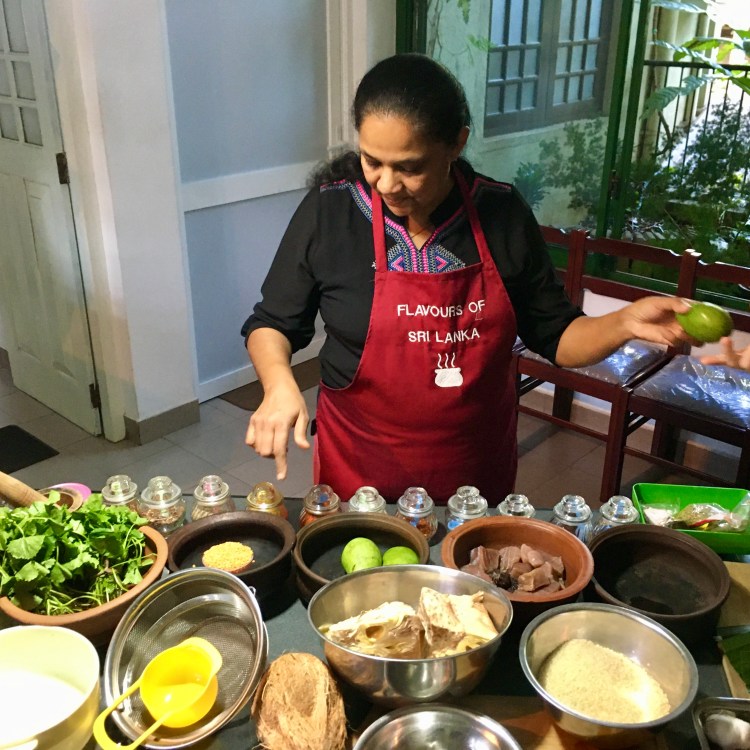
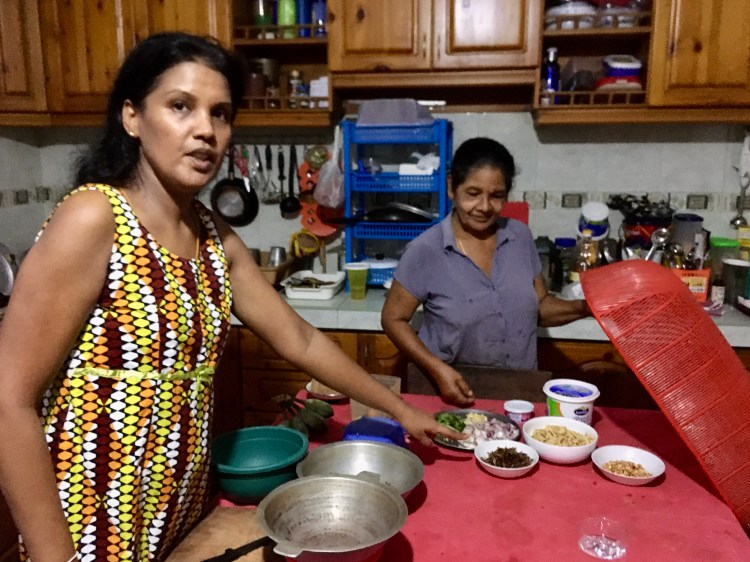
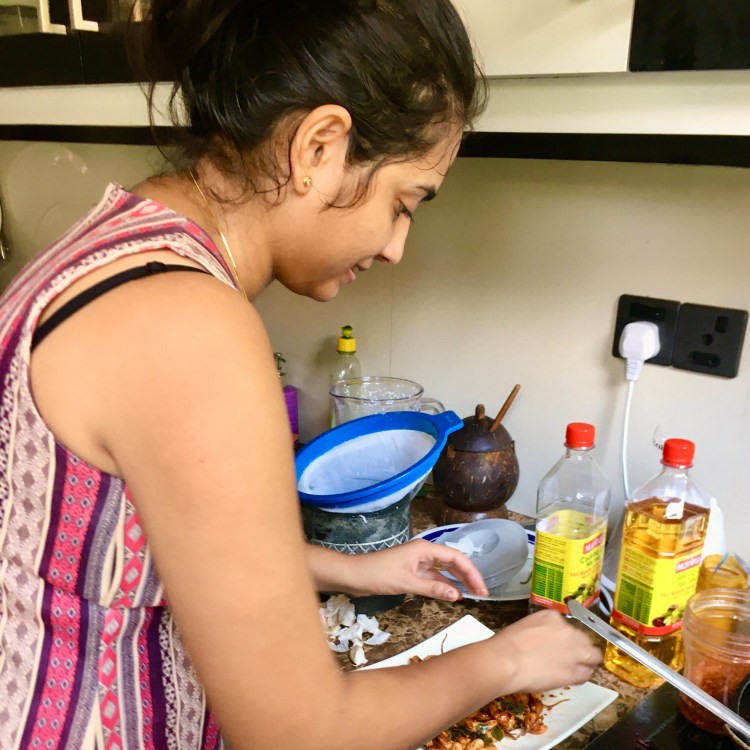
I have attended eight cooking workshops while traveling in Sri Lanka, run by more or less experienced teachers, but all very experienced cooks, may it be in a home kitchen or in a restaurant. Even if in the dishes prepared were similar – mainly rice and curries – it was helpful to compare the techniques and to see which ingredients are must-have and which are optional
Some of the recipes have become part of my home cooking repertoire. I hope I don’t commit any cooking sacrileges while adapting those recipes to the ingredients available locally as well as my cooking style
O coconut!
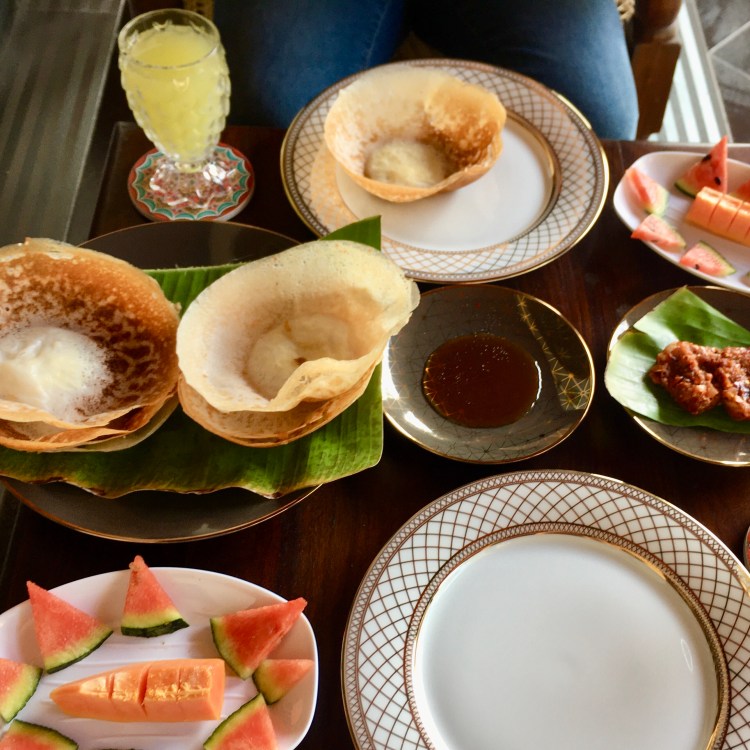
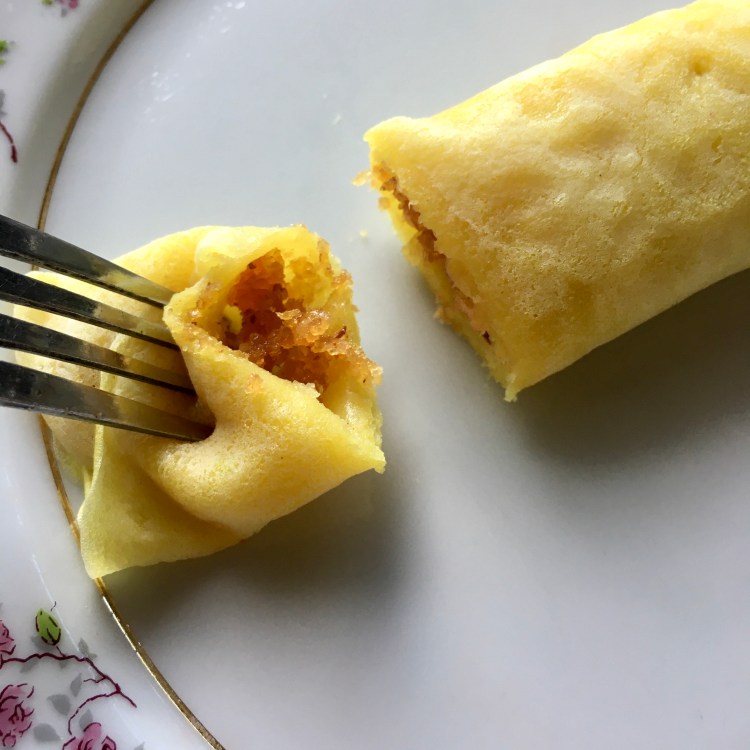
One most present ingredient in almost all the Sri Lankan dishes was coconut: absolutely amazing in sweet breakfast pancakes, giving a delicate flavor to dal, omnipresent in the curries and accompanying them in the form of roti (flat bread) and sambols (raw grated coconut in form of a paste, eventually with some greens), not talking about coconut oil which is in numerous cooked or fried dishes – so honors to the nut of the coco!
Selecting a good and fresh coconut
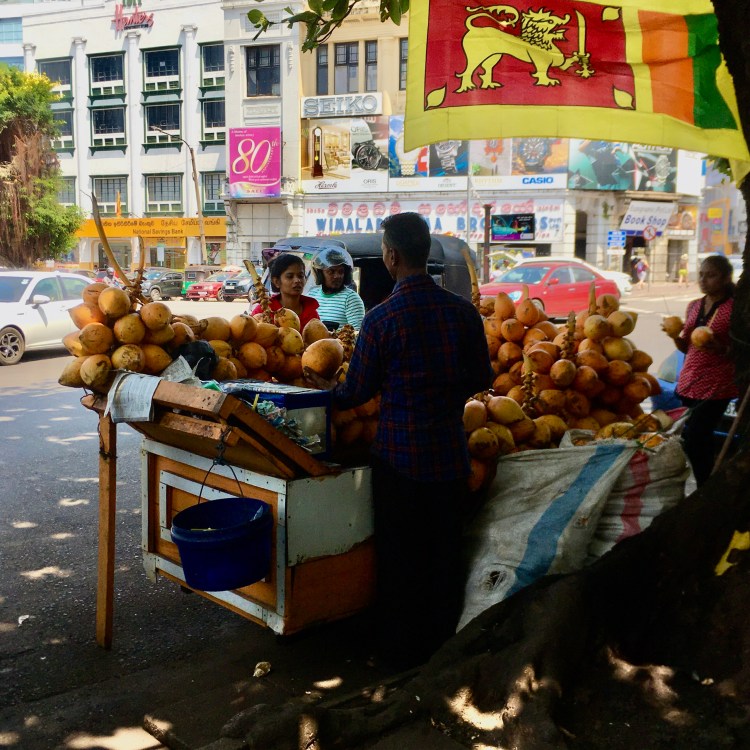
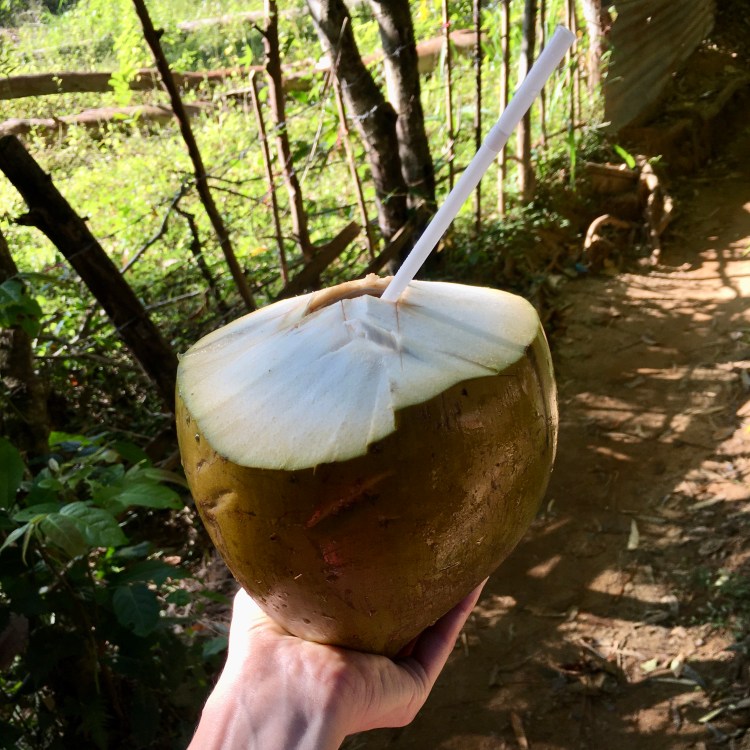
In Sri Lanka I saw two main types of a coconut : the king coconut, with wonderfully refreshing water, and, euh, the other ones. Let’s call them the “cooking coconuts”. The “drinking” coconuts were orange (occasionally also green) and easy to notice at the stands surrounded by sipping people, often alongside the touristic paths
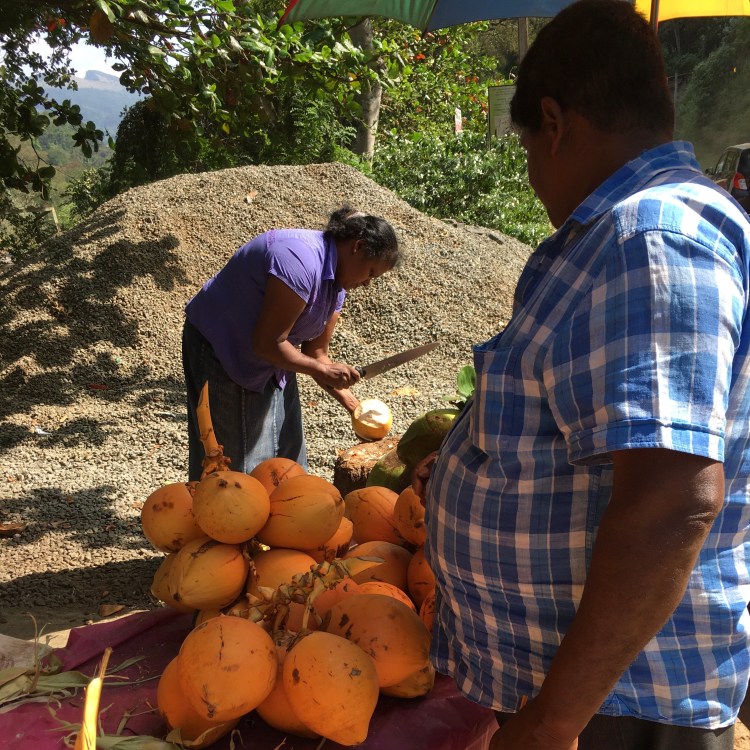

The cooking coconuts could be found in local markets and supermarkets. More fortunate ones would have them in their gardens, where it would be a good workout for the skilled climbers to pick them (or unsuccessful challenge for less skilled such as Keith Richards from Rolling Stones in 2006)
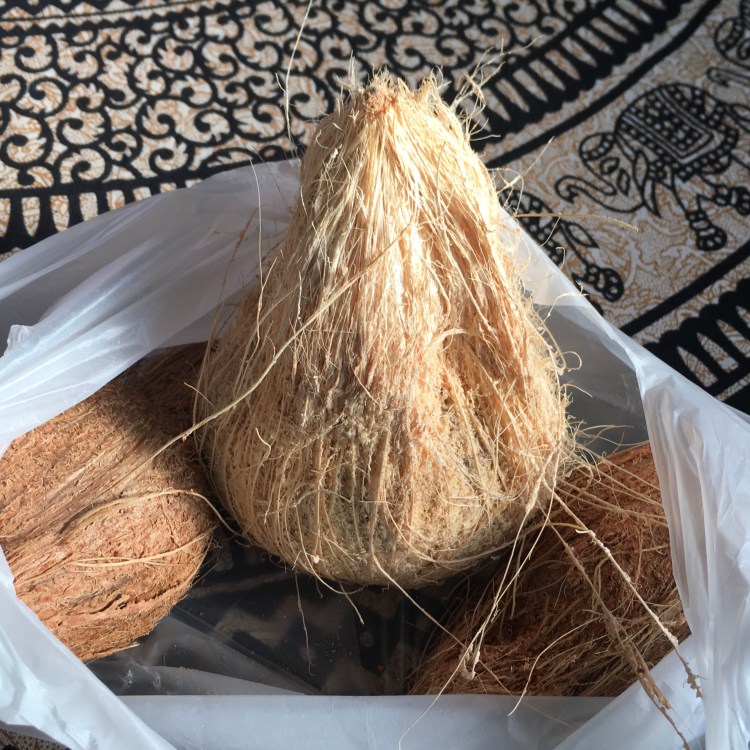
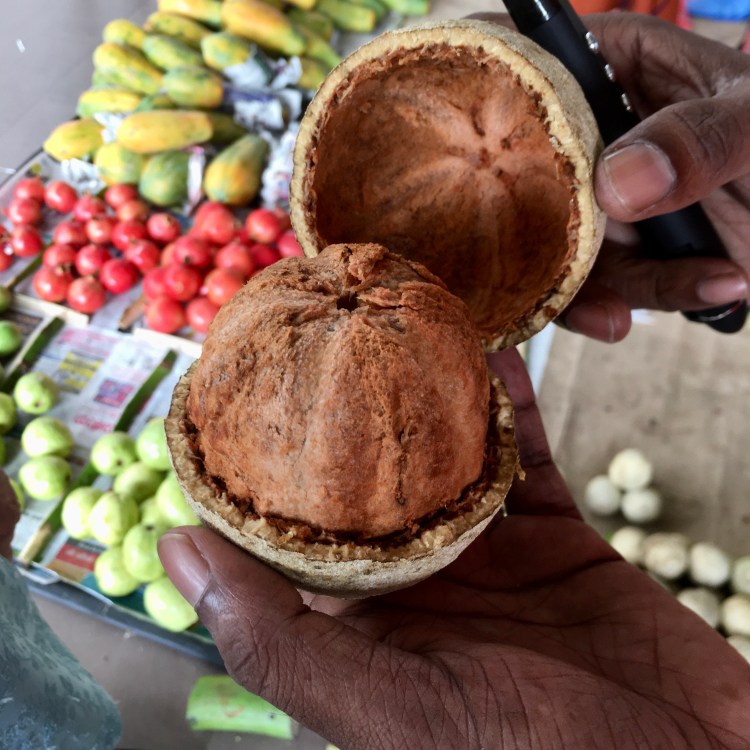
I’ve discovered only towards the end of my trip that the “cooking” coconuts are naturally in a double layer of shells, the first layer being smooth outside and removed before reaching markets. Below that first shell would be “hairy” coconuts similar to the ones we know from the Western supermarkets. The exported coconuts are getting an extra “haircut” before embarking on the travel, I suppose to decrease the weight.
When fresh, the inner shell is of bright beige color, getting darker with the time. By the time they reach the Western supermarkets, they are dark brown
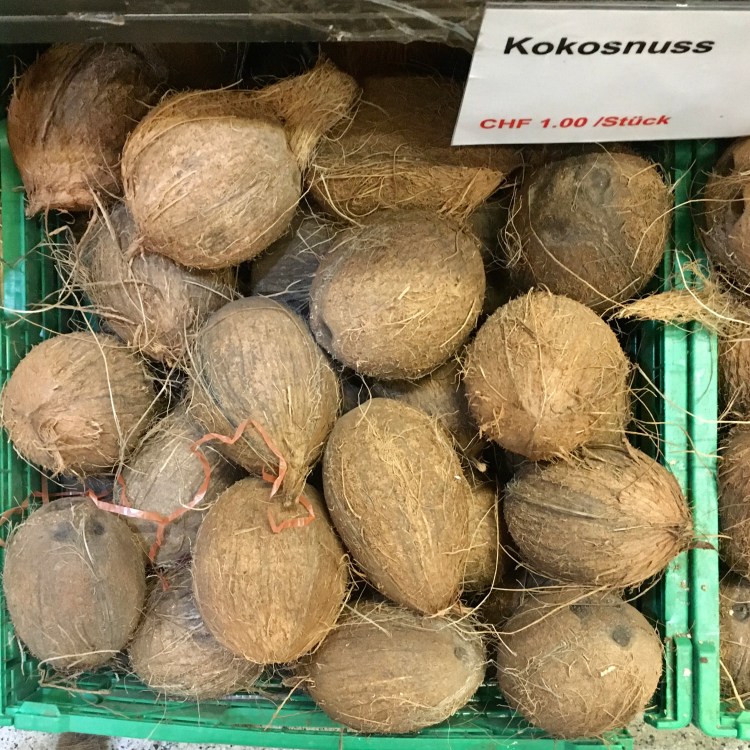
So some practical tips how to select a good coconut: the brighter, the fresher, and then shake it to hear how much water is remaining inside – some really old or damaged ones might have no or little water. These tips help but it is also a matter of luck: one from 7 coconuts bought so far in Switzerland (got them at Barkat) was off but the sample is obviously not representative
After having now bought a few coconuts, I’ve noticed that the taste of the coconut water indicates how fresh of a coconut is as it gradually changes from delicious to less so but still ok until undrinkable. Unfortunately this tip is not useful for the purchase…
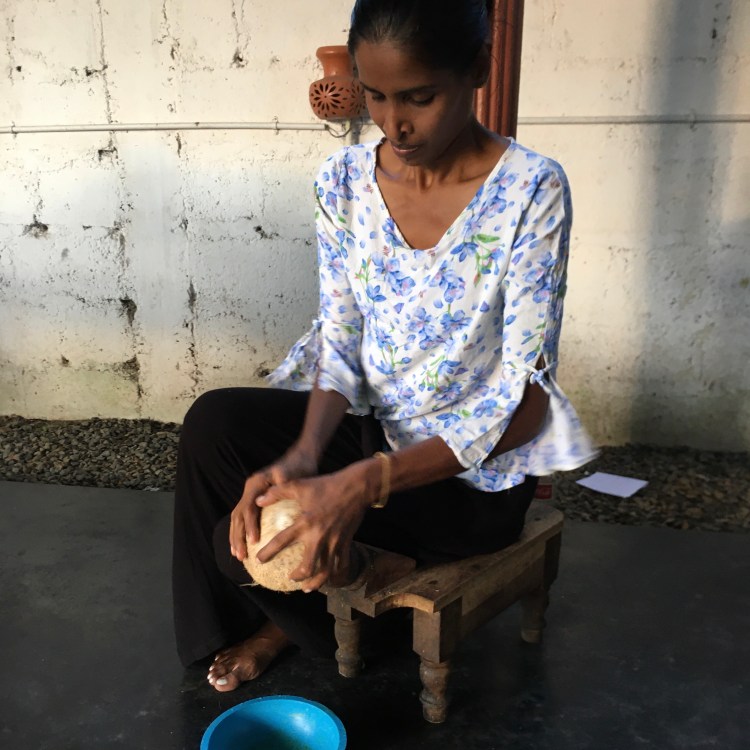
Getting the best out of it or, in other words, opening a coconut
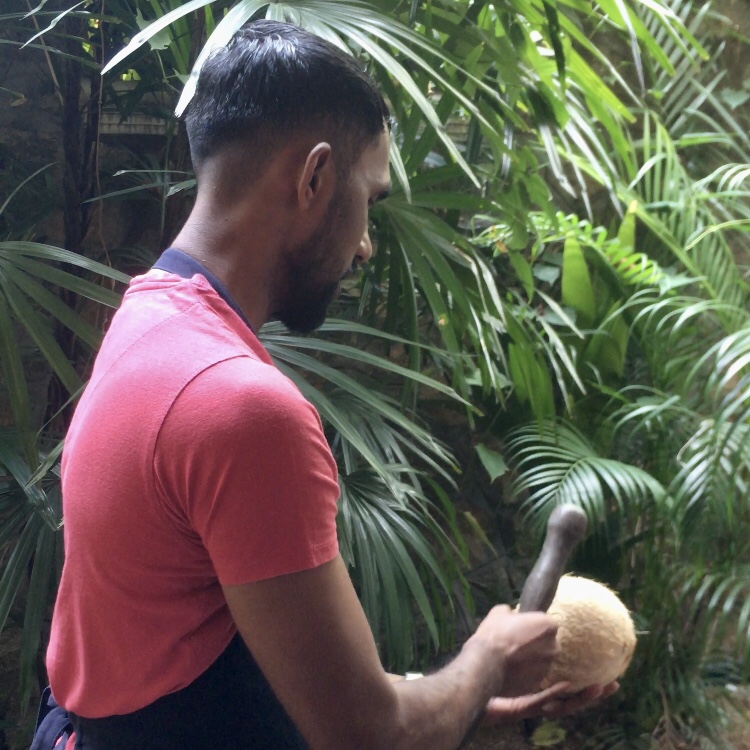
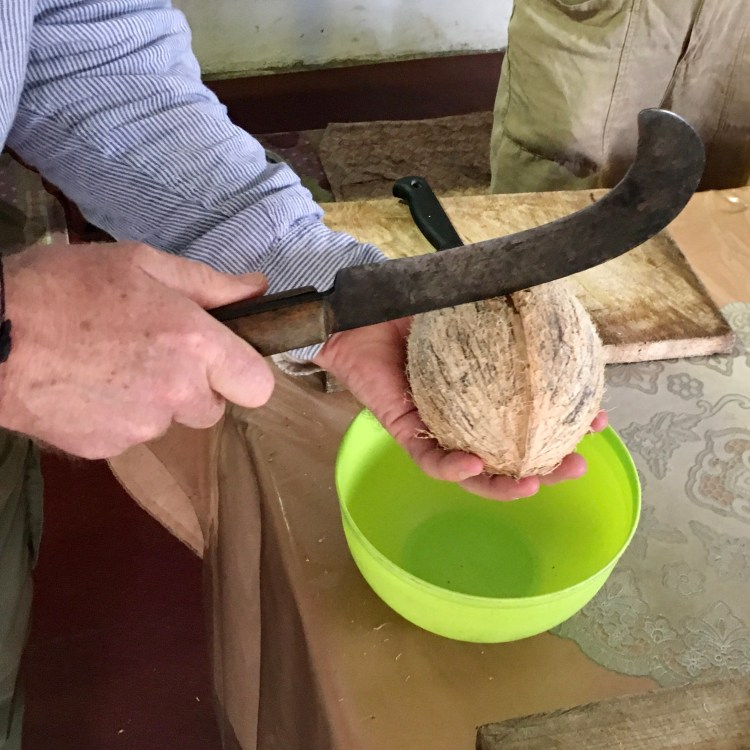
In Sri Lanka every household has tools to open and grate coconuts as several of them are consumed weekly. To open a coconut, a special big knife or a big pestle are used there
If those tools are not part of your kitchen equipment, a regular hammer will do. My newbie developed technique which is an inspired combination of the observed techniques in Sri Lanka consists of the following steps. Not super pro, it takes a few (3-5) minutes, but perseverance has always so far paid off:
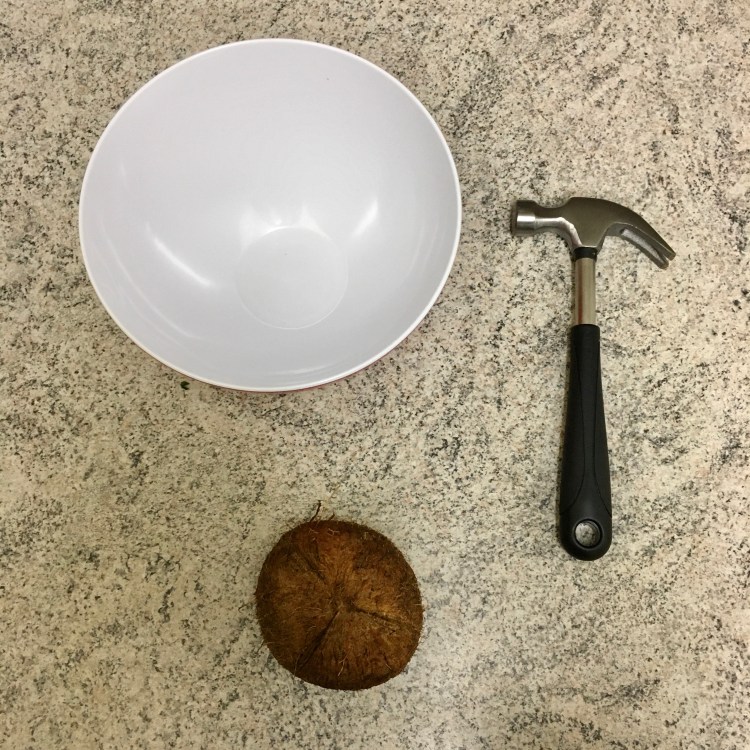
1) rinse your carefully selected coconut (especially as some of the coconut “hairs” will most probably fall into the coconut juice while opening it)
2) position the coconut above a plastic bowl (a plastic one is better in case the whole process doesn’t go super smoothly)
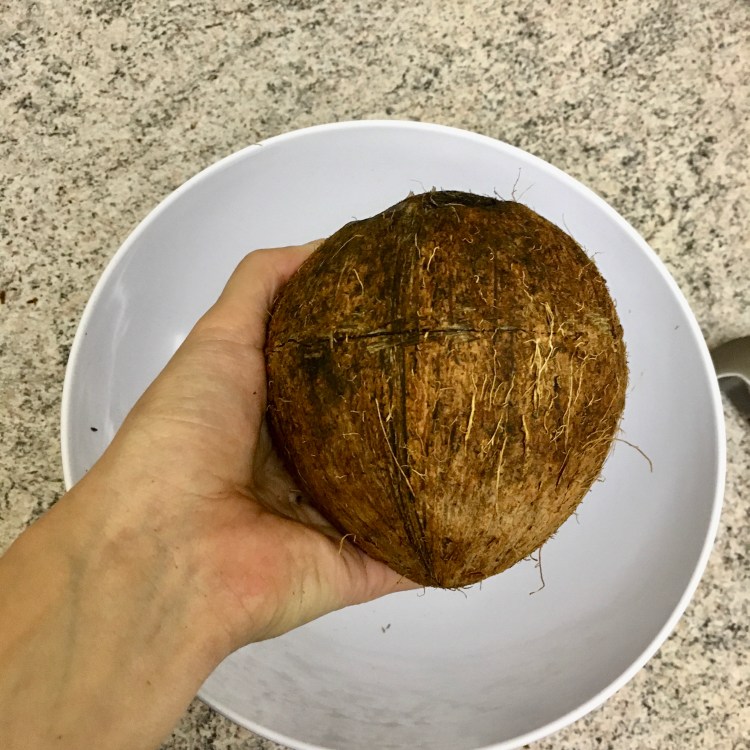
3) with the sharp side of the hammer mark the middle of all the three ridges (be very careful not to get hurt!)
4) hit in the middle between the marks with the dull side of the hammer
5) connect the marks around the coconut with the sharp side of the hammer
6) proceed with the steps 4 and 5 until the coconut cracks around and can be opened. The coconut water will flow into the bowl, from where it can be sieved into a cup and hopefully enjoyed (if it doesn’t taste good and the flesh of the coconut smells unpleasant, looks like unfortunately you will need to restart the procedure with another coconut and discard this one). Another usage for the coconut water besides simply enjoying, it can be used to prepare coconut rottis (the recipe below) instead of water, for the more intense coconut flavor
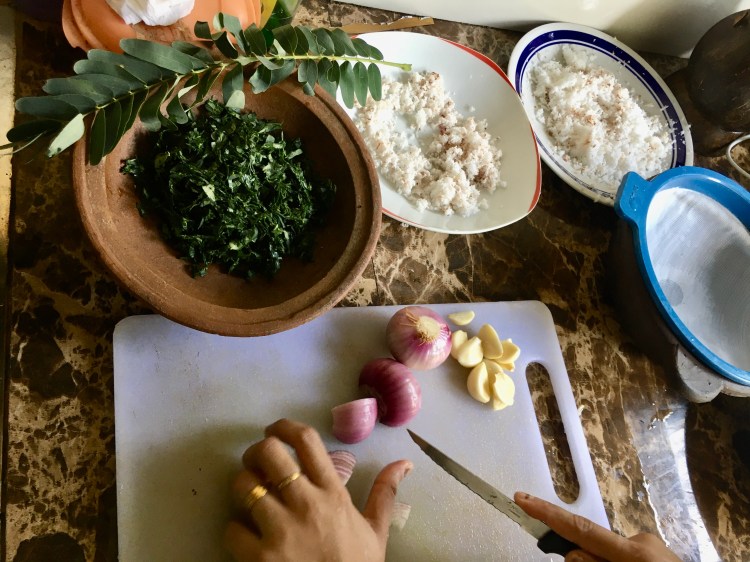
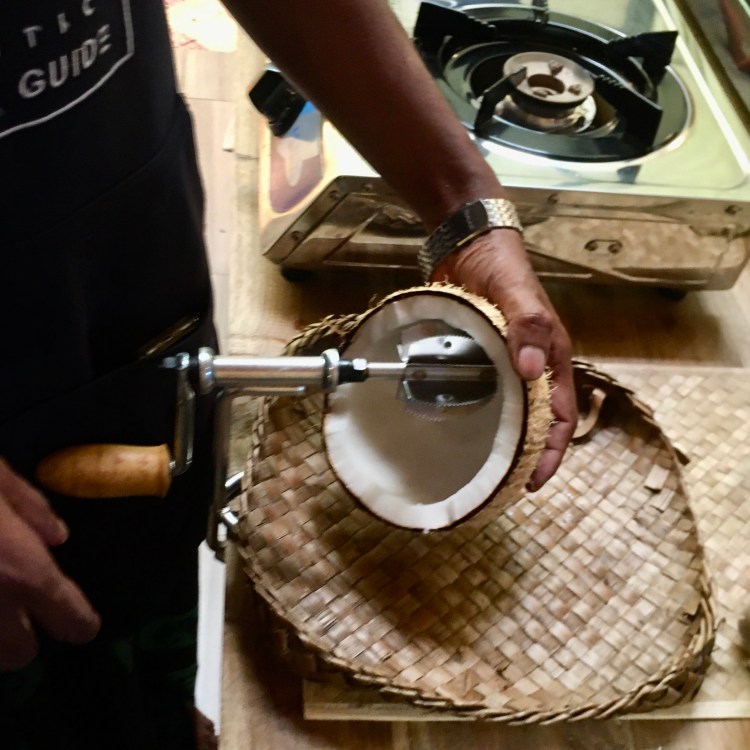
Grating coconut
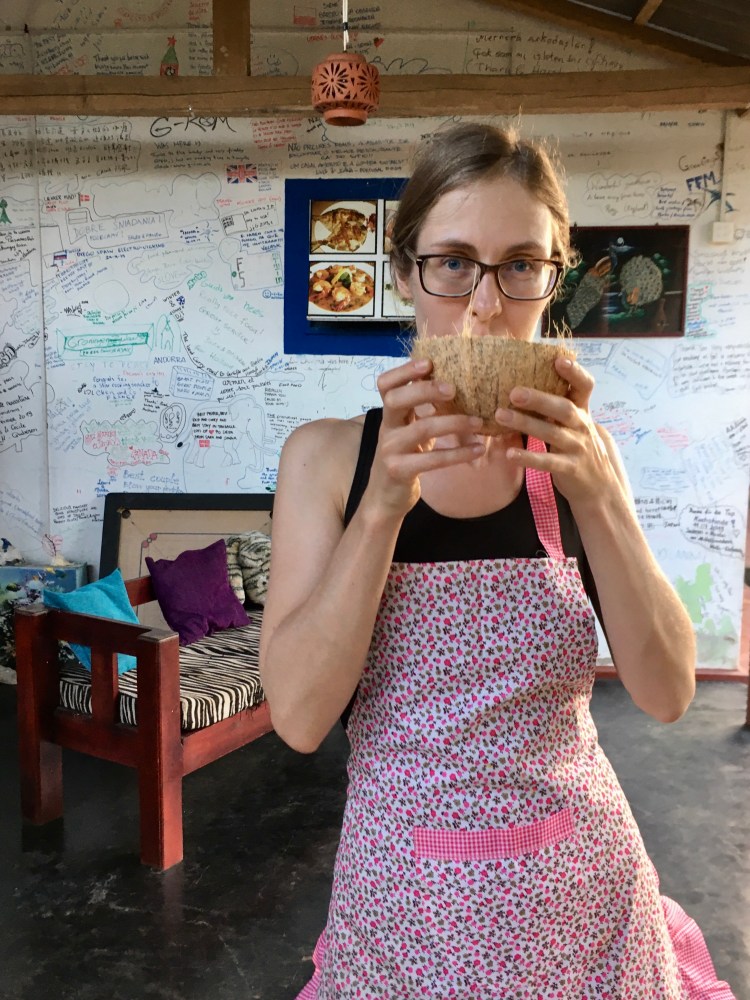
If you have a coconut scraper (my favorite souvenir from Sri Lanka!), it is easy-peasy. If not, it should work to take out pieces with knife and grate them on a regular grater. Just be careful with your hands as coconuts are known to be very protective of their delicious flesh!


Have you finished grating your coconut? Just try how it tastes – so creamy and delicious, I can eat it just like that! But better not to finish it all as otherwise you won’t be hungry for several hours…
The obtained grated coconut can be stored 2-3 days in the fridge or longer if frozen – a practical way to have it at hand when needed
Milking the vegan cow
Many Sri Lankan dishes are vegan by nature as their creaminess comes from coconut cream and milk, and dishes are mainly cooked with coconut oil (as opposed to ghee in many areas of the nearby India)
I’ve been preparing my own coconut milk since having tried the fresh coconut milk – since then the “backup” coconut milk can has been standing in the cupboard untouched. Sri Lankans are strongly convinced that the canned milk is not healthy. I’m not an expert in the matter, but only the flavor of the fresh milk is convincing enough for me to go through the preparation effort
In each of the cooking classes that I’ve attended, coconut milk was obtained in a slightly different way: some used blenders, some didn’t; some added hot water only if the coconut was taken out from the fridge and otherwise lukewarm water was used, others proceeded with boiling water anyhow. Everyone agreed though: no cold water should be used as the fat naturally present in the coconut flesh wouldn’t dissolve

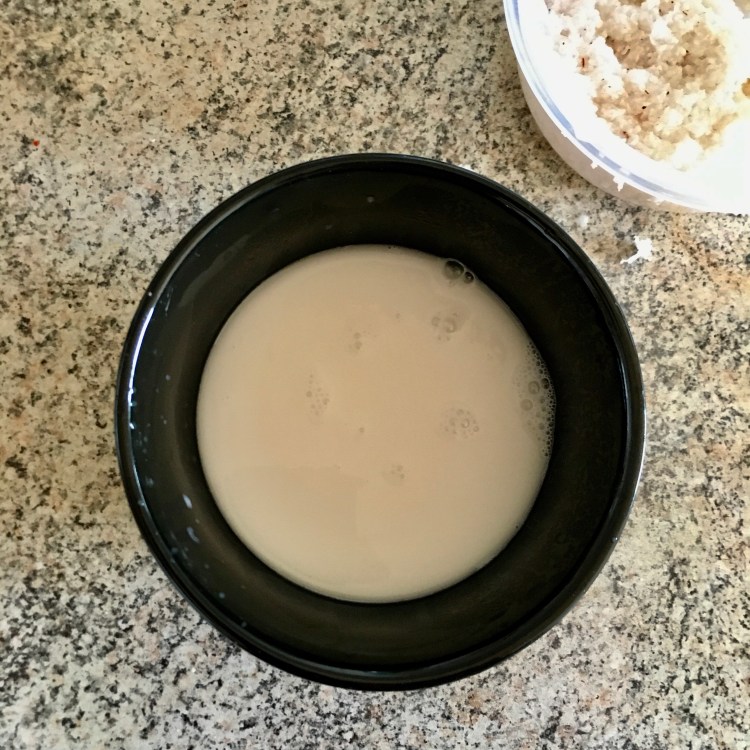
My favorite way to prepare the coconut milk is the least labor-intensive. I have learned it from the Nanda Restaurant chef in Ella: add boiling hot water to the grated coconut, stir it and let it sit until it cools down to the temperature when it can be pressed with the hands. Sieve the mixture to a bowl, press the remaining milk out with hands and put the pressed-out coconut into a second bowl, for the procedure to be repeated
The first coconut milk is called (thick) coconut cream. If put to the fridge, it will separate into two parts, the creamiest one being on top. The latter is used, for example, in some desserts such as wattalapan, a local pudding. When water is added again to the previously pressed grated coconut, the second (thin) coconut milk is obtained. Some pressed it third time for the most watered-down milk. The remaining grated coconut was discarded as it doesn’t have much flavour anymore though I am wondering if it could be used as coconut flour in a cake for example? I will need to experiment further. For rottis, I use the pressed out coconut after 1st or 2nd milk, this way using everything and avoiding food waste
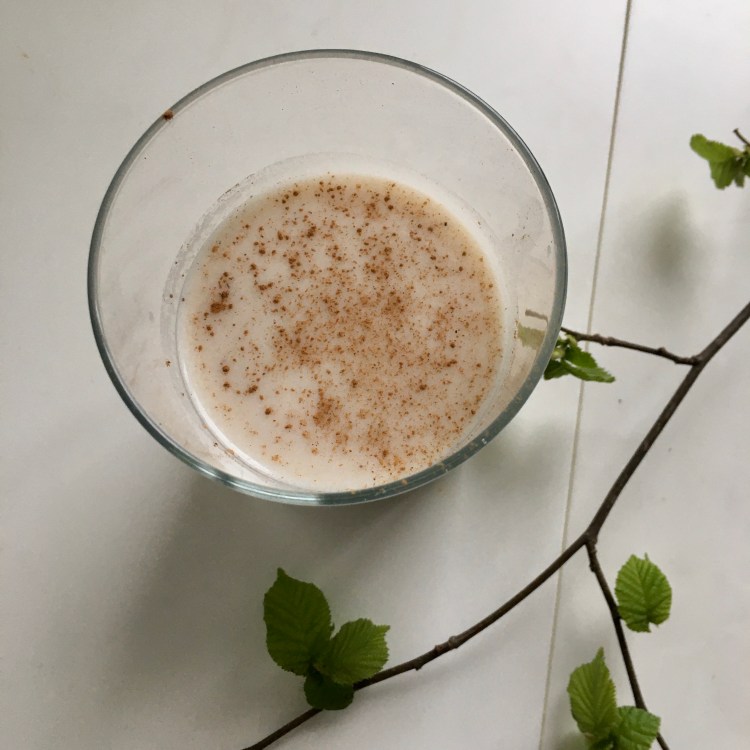
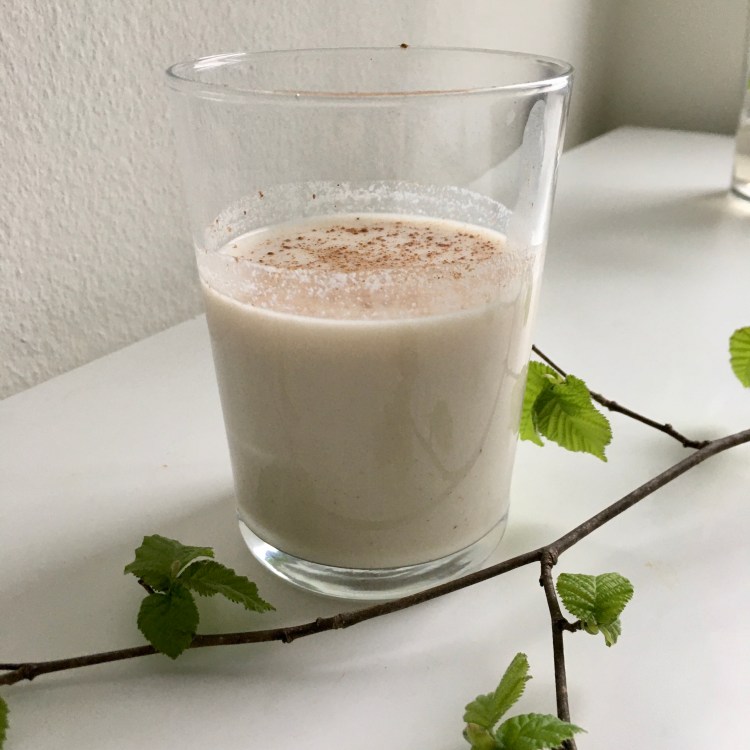
If there are any coconut milk leftovers from the cooking, I like to make a coconut horchata (not Sri Lankan at all but still lovely): mixing coconut milk with another vegetal – I use rice almond milk, adding some coriander seeds and cinnamon, cooling down, sieving, sprinkling with cinnamon – ready!
Note: coconut milk can only be stored for a few hours, even in the fridge, and it cannot be frozen. On the other hand, fresh coconut milk can be quickly prepared if you have some grated coconut in the fridge or freezer
My favorite recipes
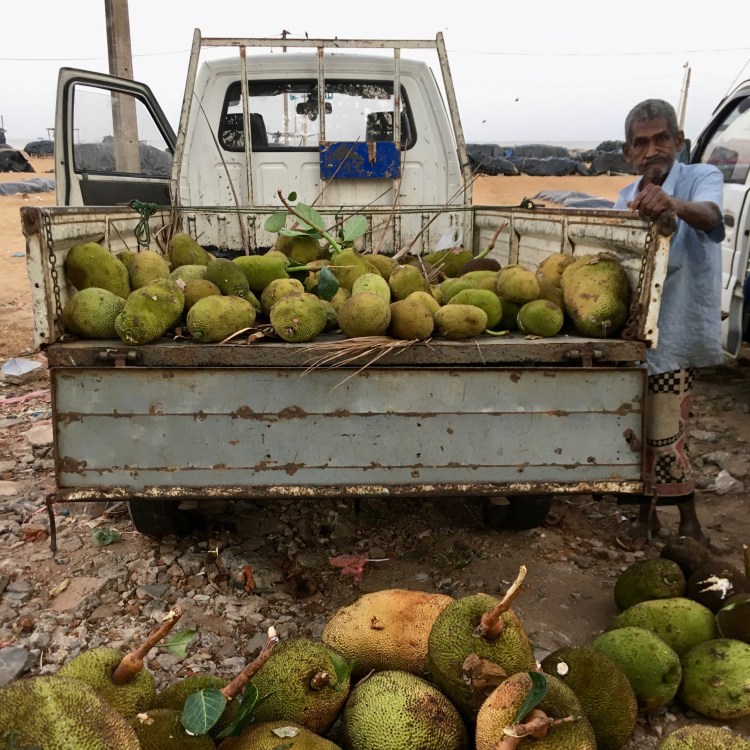
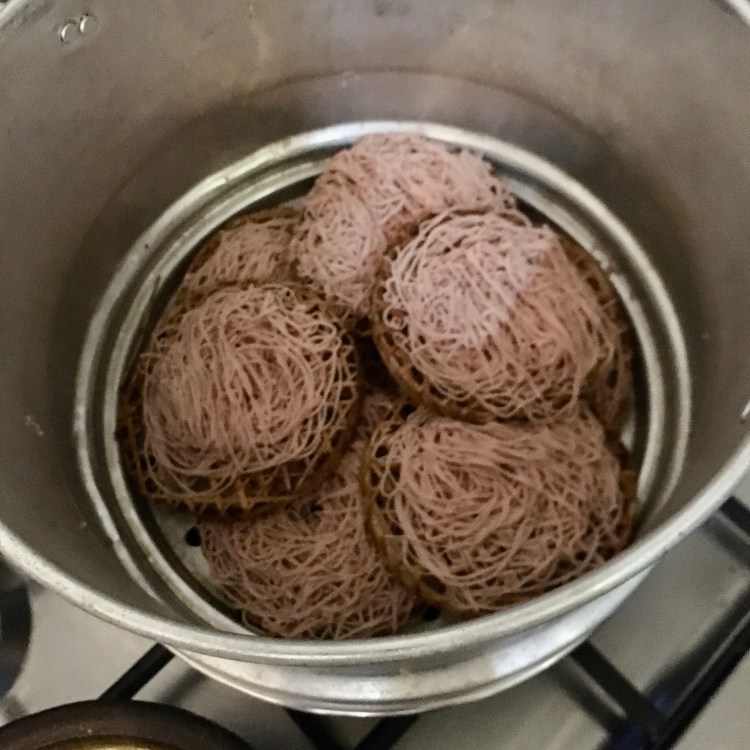
I have loved all the meals that I had opportunity to try in Sri Lanka. Some of them, such as a super-delicious jackfruit curry or string hoppers, are more difficult to replicate back home as some ingredients (e.g. jackfruit) or tools (a press and steamer for string hoppers) are not easy to find
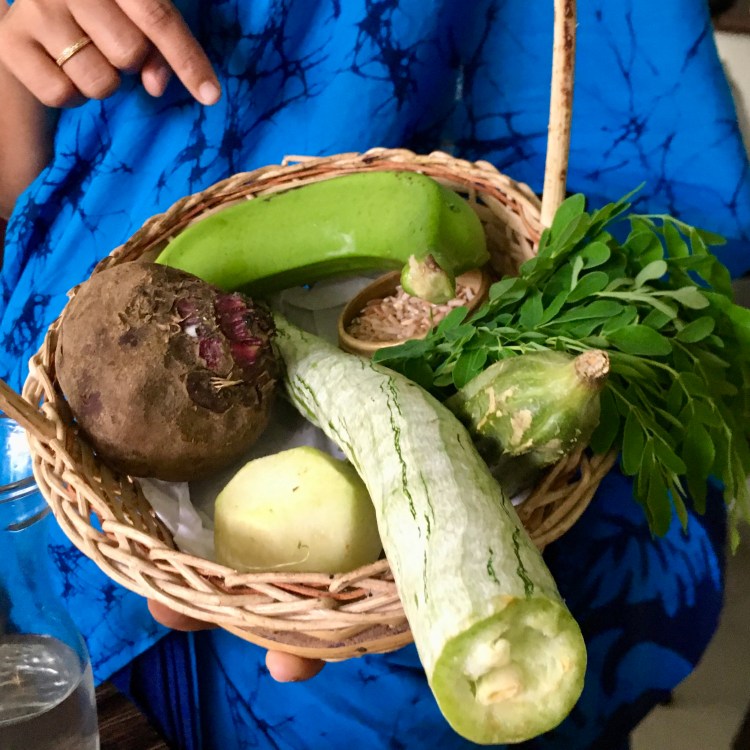
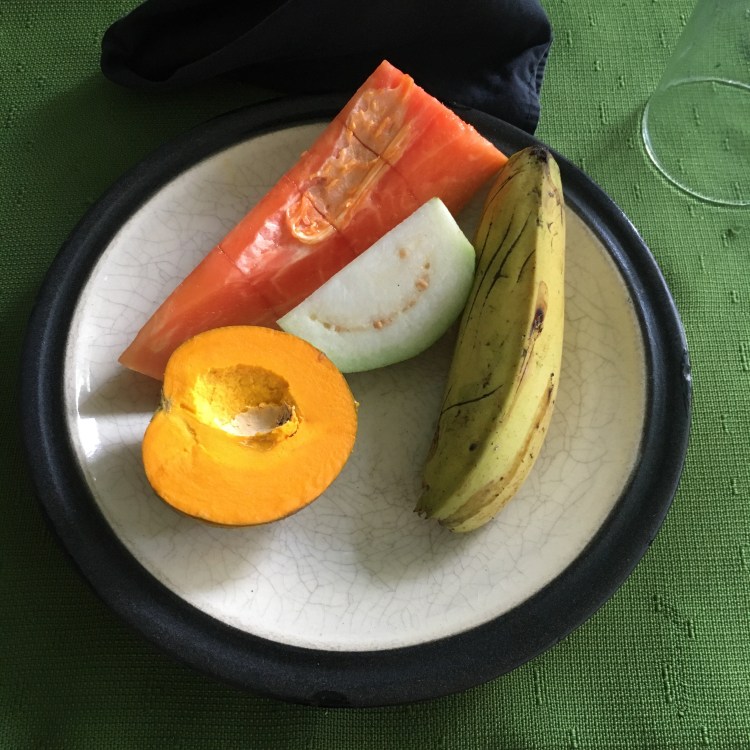
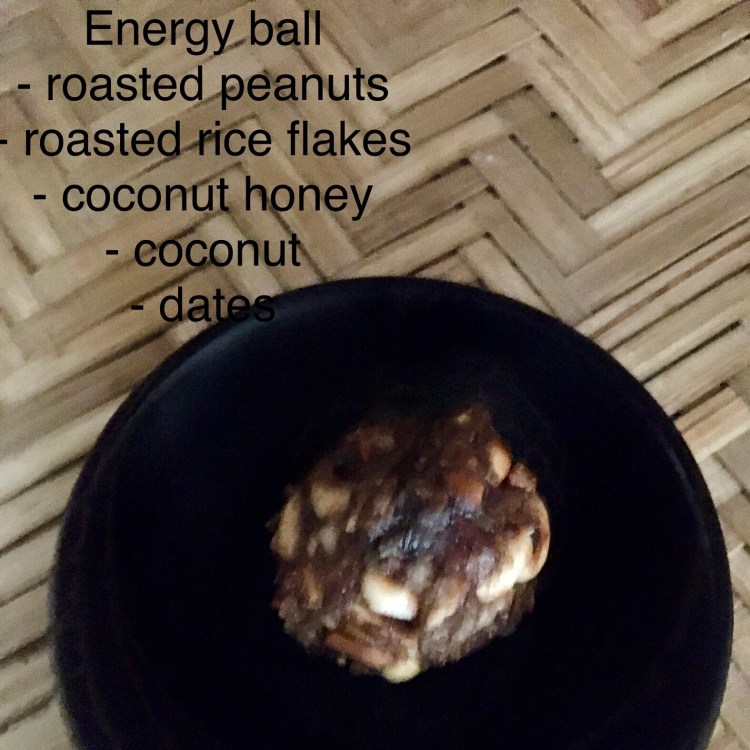
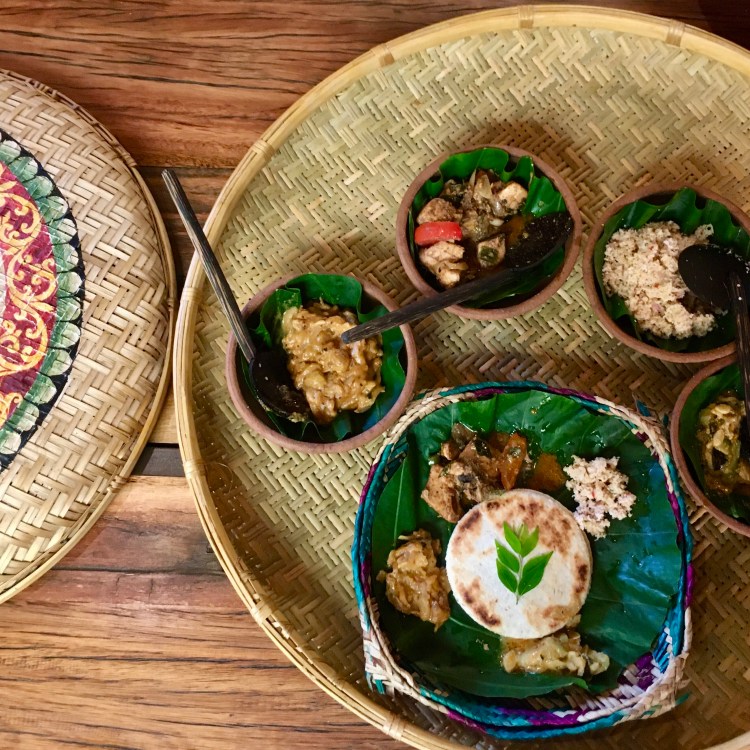
For those of you interested in the Ayurvedic cuisine, the good news is that (I was delighted when I’ve heard that) the everyday Sri Lankan cuisine is not so different from the Ayurvedic cuisine, or so I was told at the little Ayurvedic workshop at Plantation Villa retreat. I have observed that the meals served in the retreat were a bit less spicy and salty, and fried dishes were not served as often. The sugary desserts were replaced by natural sweets such as dates and peanut energy balls, but rice and curries were quite similar, except for the variety of the ingredients used – I think over three days I have not eaten same vegetable twice!
In case you want to explore further Sri Lankan dishes, I got recommended the YouTube channel of Apé Amma for its authentic Sri Lankan recipes with many good tips. I also like the blog PeckishMe, more internationally inspired but rooted in Sri Lanka
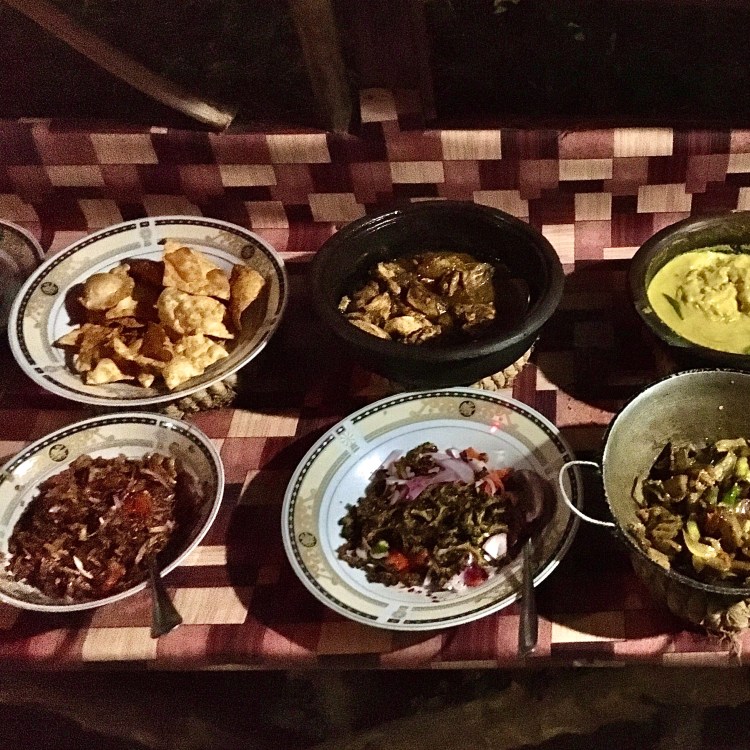
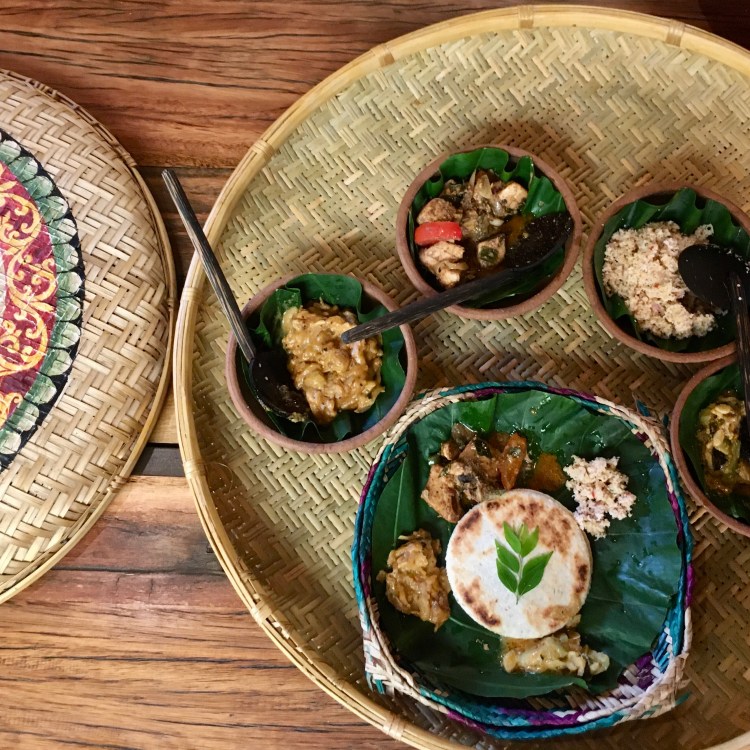
Rice and curries
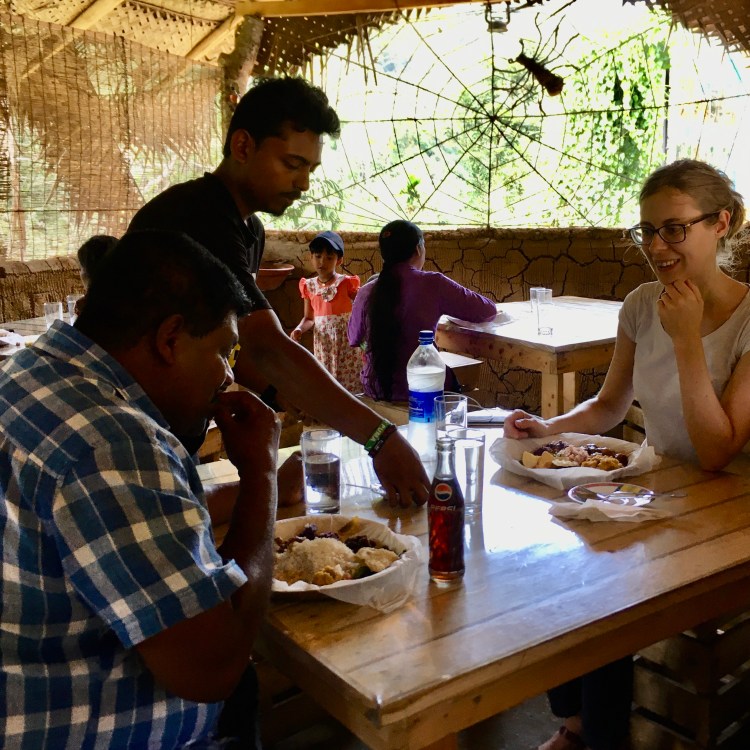
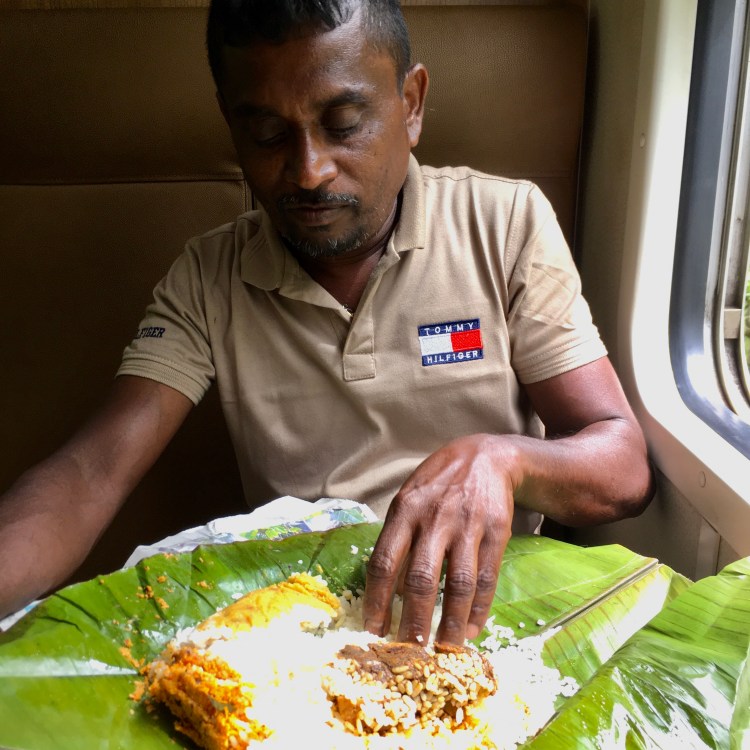
Curries are traditionally served together with white or red rice and mixed together with hands when eaten and that is done also with hands (or more precisely: with the right hand). Foreigners usually get a cutlery set to eat, but the locals claim it doesn’t taste the same if not eaten by hand. I’ve tried both – as my mind was more absorbed on the new technique than food when eating by hands, for me still tastes better when using the familiar fork, so I think it is mainly the matter of habit
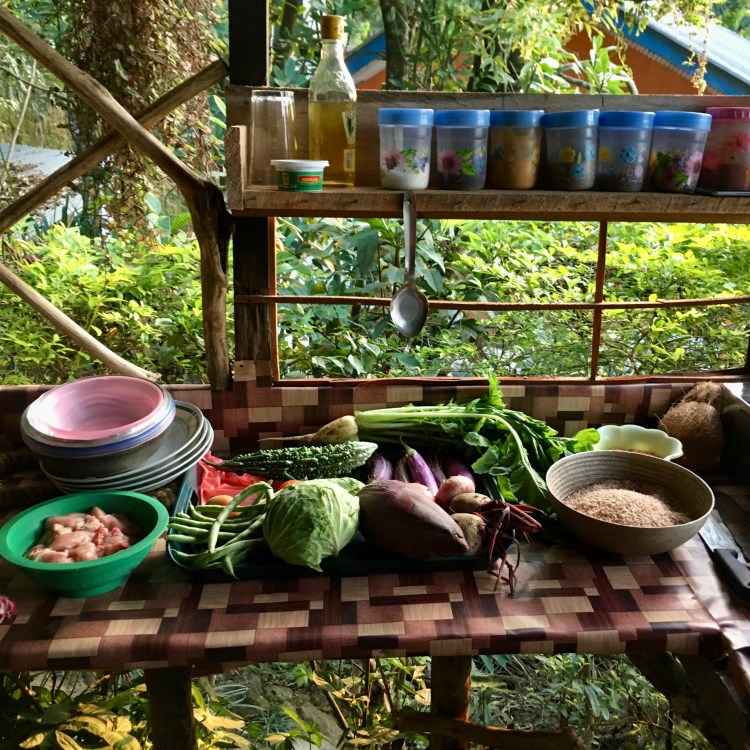
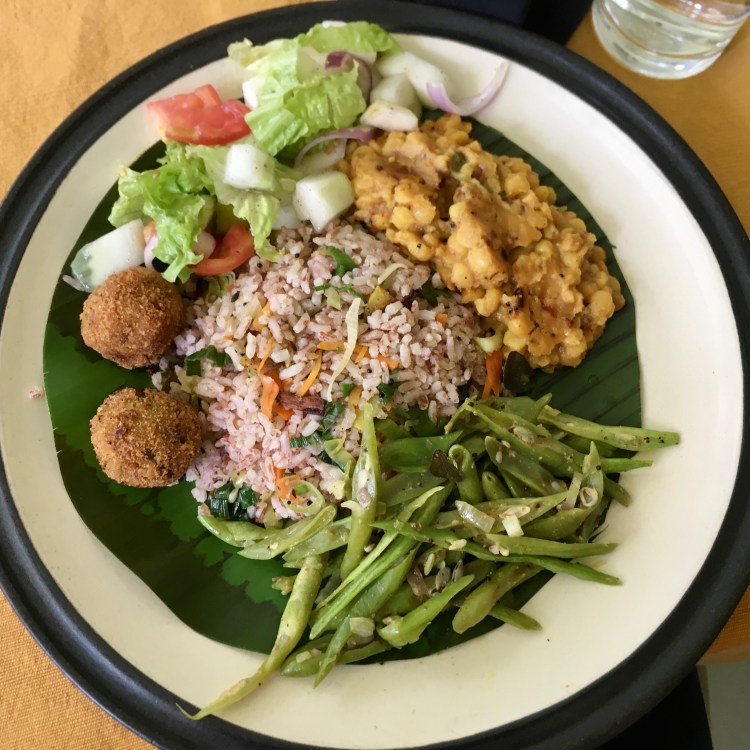
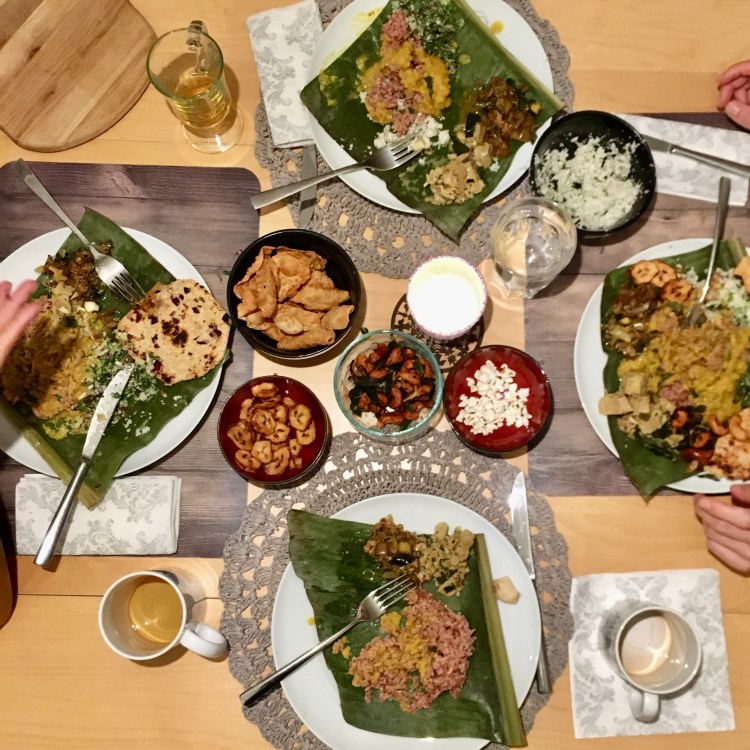
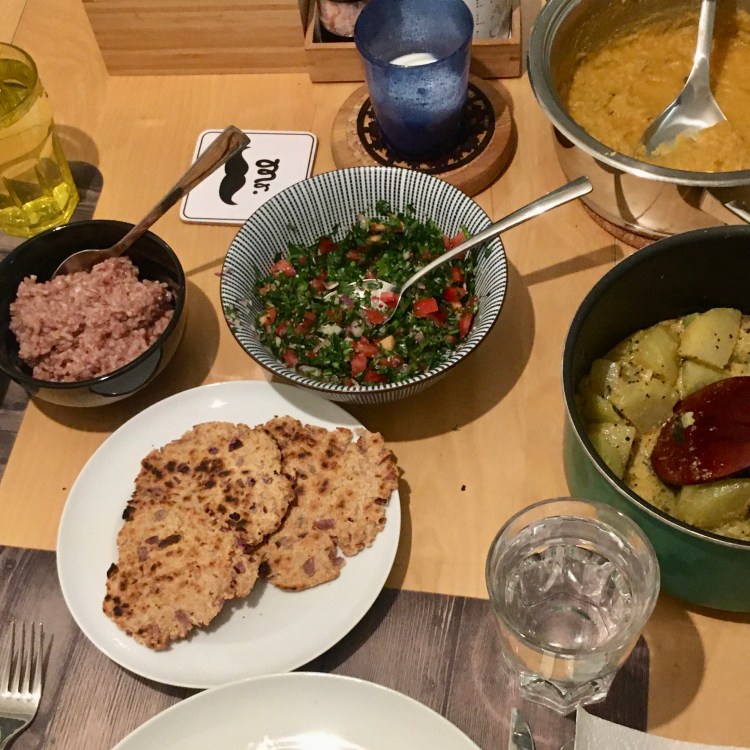
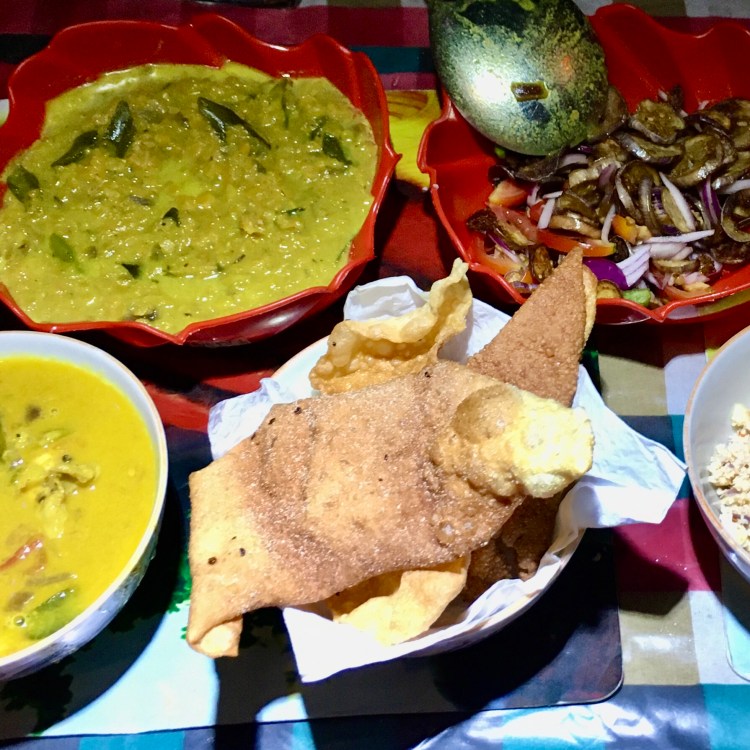
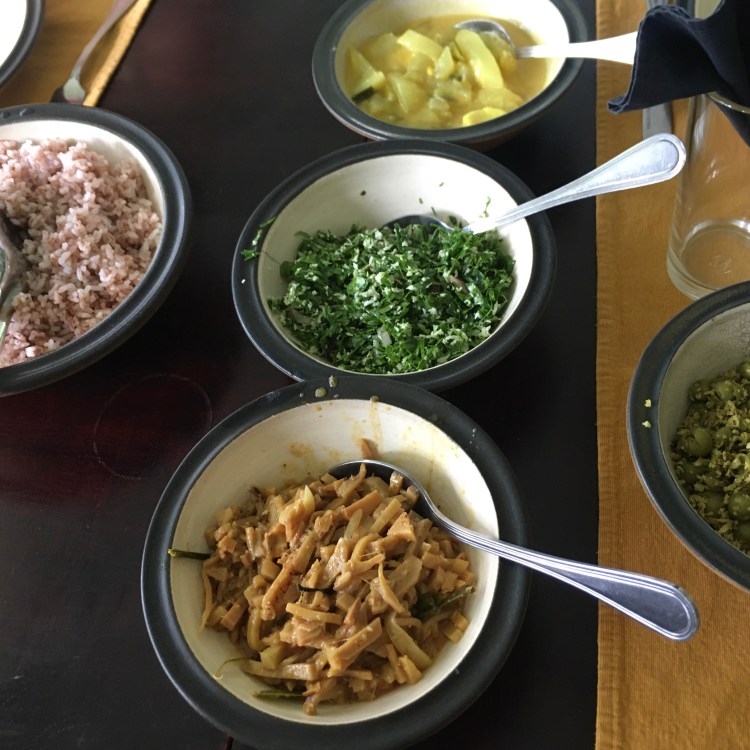
My ideal rice and curry menu is composed of red rice (because it is more nutritious but white rice is also very nice), dal curry and at least one other curry (better two or more), a crunchy element (e.g.: fried papadams, bananas, cashews or a “salad” with fried ingredients), coconut rotis and a “green” sambol
For a not very skilled cook like me it takes close to three hours to cook all of this – so it is a menu for a special occasion. On a regular day I would go for rice, dal curry, one other curry and a “green” sambal. If I have slightly more time, I would add coconut rotis. A note regarding the red rice: I found the so called “red rice” in a specialty store under the name of Chomala rice (from Kerala that apparently has very similar cuisine as Sri Lanka, but any full grain rice of your choice will make the meal delicious and healthy
Note about quantities in the recipes:
The quantities are indicative – please adjust them to your taste. Also, the recipes do not have a clear number of servings because one dish is rarely meant to be eaten on its own but in combination with other curries. Depending on how many curries will be served, one may want to prepare a bigger or smaller quantity. I tend to prepare bigger quantities anyhow because most of them taste also good when warmed up. For one meal, as a rule of thumb, I think it helps to imagine the main ingredients put on a plate to reach half of the quantity that looks reasonable per person. For example, if I am cooking potato curry and dal curry, I would count one large potato and a quarter of a cup of dried lentils (considering they triple their volume) for myself. As I will eat it with rice, roti and sambol, that should satisfy my hunger. And as said, spices are very personal. If there is anything you suspect you won’t like (or also don’t have), then decrease the quantity or skip it altogether. That should be especially no issue for those ingredients that are marked as optional
Sri Lankan dal curry
What I really love about Sri Lankan dal is that it is super easy to prepare, easier than the Indian version I know. The taste is different too. In the recipe notes received, I’ve found also a more complex version that I write down here as well in case someone wants to experiment
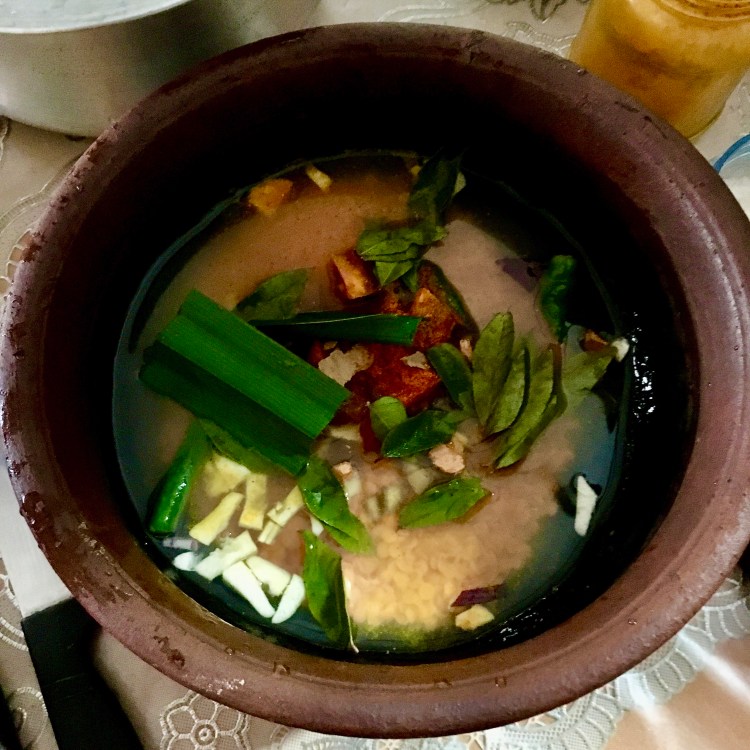
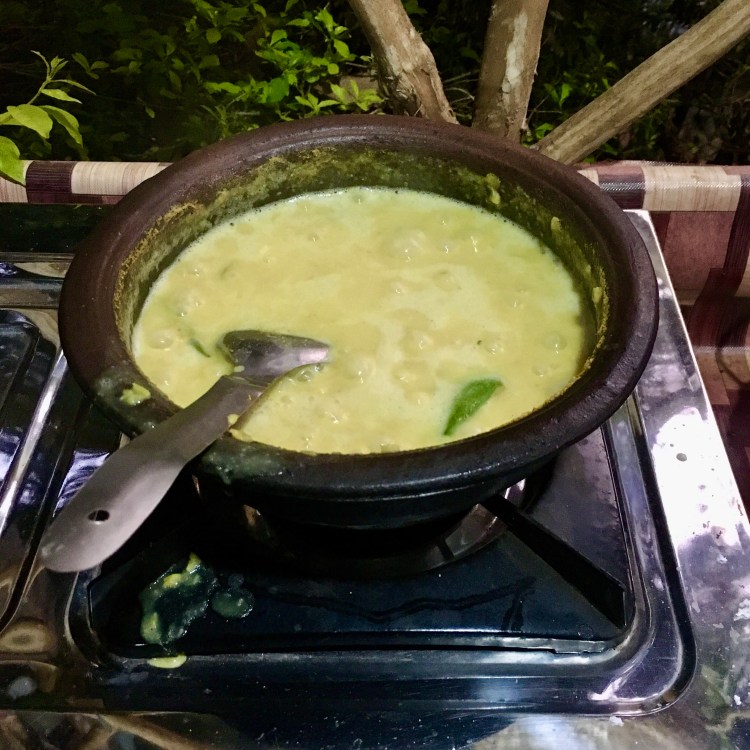
2) The secret is a lot of coconut milk and cream
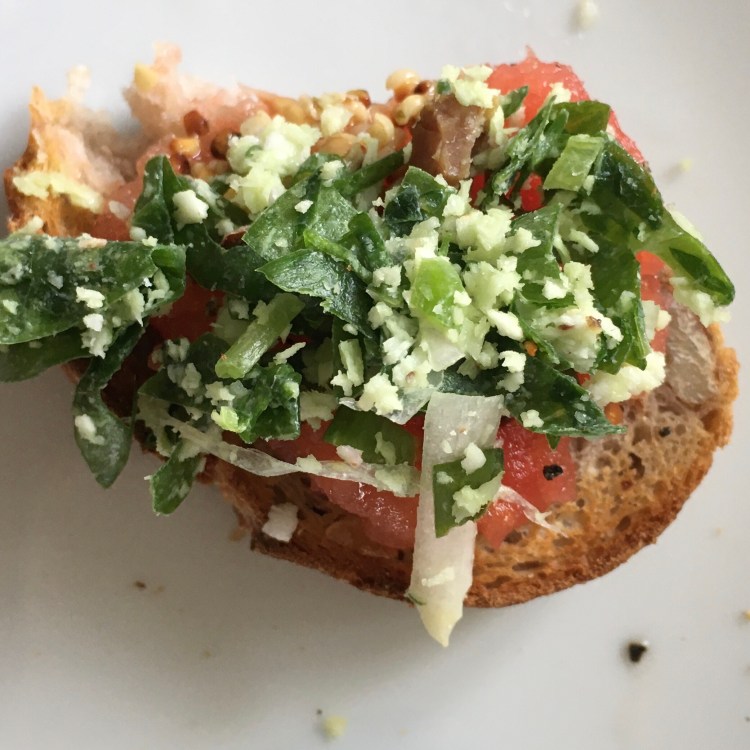
If there are any dal leftovers, I like to use them as a spread in my fusion’ized cuisine, for example, on the catalan “pan tumaca”: toasted bread with freshly grated tomato, pepper and a bit of olive oil, and now also with dal
Ingredients:
- 1 cup red lentils (yellow lentils also work)
- 1-2 cloves of garlic, entire, smashed or chopped (I’ve seen these variations in the local recipes)
- 1-2 medium-sized red onions, chopped or sliced (everyone seemed to use red onions in Sri Lanka, but white onions also work)
- Spices and flavors I: ½ tsp turmeric powder, ½ tsp curry powder, ¼ tsp cinnamon powder or bits from cinnamon stick (optional), ½ tsp chili powder, 1 tsp salt, ½ -1 green chili cut diagonally (optional), 5-10 curry leaves or 1 sprig of fresh ones, sliced or entire; a strip of pandan leaf (optional)
- 1 ½ cup of thin coconut milk + water and ½ -1 cup of thick coconut cream
- a handful of spinach (optional, not part of the traditional dal but used in the ayurvedic version – apparently, it’s a very good combination from ayurvedic perspective to mix dal with spinach)
- Spices II (used only in the more complex version below) and flavors : ½ tsp fenugreek seeds, ¼ tsp cumin seeds, 1 tsp mustard seeds, 2 cloves and lime juice
Easy recipe:
- Wash lentils well, 3 times or as much as needed until clean, changing water each time
- Put lentils into a pot withall ingredients except coconut cream and spices II. If lentils are not covered generously (1 cm above surface) with thin coconut milk, add some water
- Cook until soft
- Add spinach if used and thick coconut cream, and cook for 3-5 minutes on low heat
More complex recipe (I haven’t tried it but I would expect it to be more fragrant)
- Wash lentils well, 3 times or as much as needed until clean, changing water each time
- Boil the lentils in water with chili powder, turmeric and curry powder
- After about 15 minutes, when the color of the lentils changes from red to yellow, remove from the heat and pour into a large bowl
- Heat the oil in a large skillet over medium heat. Add the mustard, fenugreek and cumin seeds, and fry for 20 seconds
- Add onion and garlic, mix well and fry for 20 seconds
- Add the boiled lentils and mix well. Cook for 5 minutes
- Add the coconut milk and cream and salt to taste. Cook until the curry begins to boil
- Remove from the heat and add the lime juice
Potato curry
The main ingredient here shouldn’t be hard to find. For a Lithuanian potato-eater like me from the country where potatoes are eaten in a hundred different ways, this is the hundred first way to prepare them
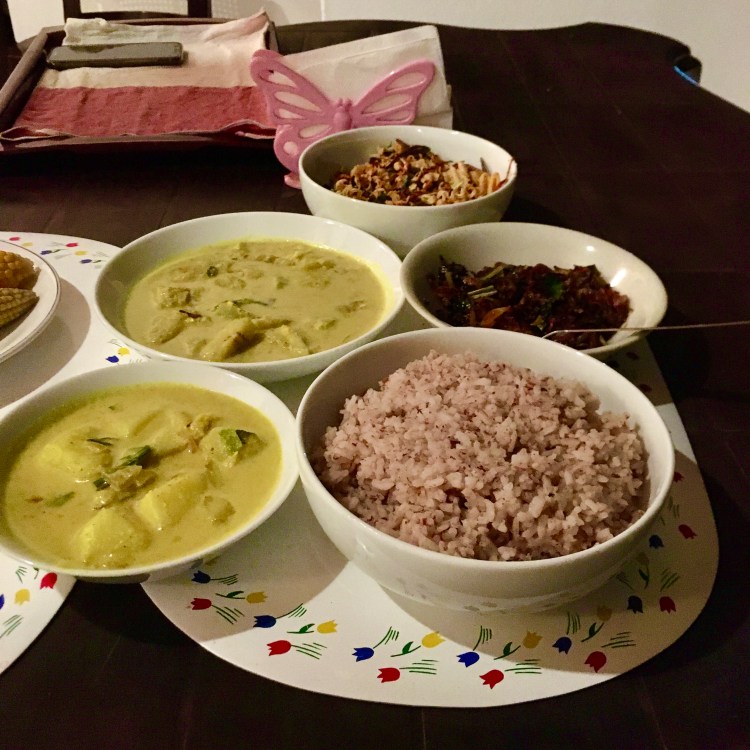
The second curry on the first picture is the plantain curry (recipe below)
Ingredients:
- 2 large boiled potatoes but still firm (slightly undercooked), skin removed and cut into approx. 3 cm cubes
- Spices: ¼ tsp of curry powder, ¼ tsp of turmeric powder, ½ tsp coriander seeds, whole or slightly crushed for more flavor (not in the original version so optional, especially that coriander has its lovers’ and haters’ camps – you know now in which camp I am), 1-2 green chilis in 1 cm chunks (optional), approx. 5-10 curry leaves or 1 sprig of fresh curry leaves , ½ tsp fenugreek seeds (optional), 1 cm of cinnamon bark (optional); a piece of pandan (ramp) leave (2-3 cm) (optional); salt
- 1 clove of garlic, minced or sliced thinly
- ½ medium sized onion, sliced or diced
- 1 cup thin coconut milk
- ½ cup thick coconut cream
- Add all the ingredients, except for the coconut cream, into a pot. Mix
- Cover and cook on medium heat till onions and potatoes are tender
- Add coconut cream and let it cook for 2-3 minutes on low heat. It is important not to overcook as the creamy texture can be destroyed when the fat from coconut cream separates (when it happens, it looks a bit like cottage cheese)
- Remove from the heat and stir for a couple more minutes, to avoid any lumps of coconut milk
This recipe works also with carrots or turnips, just omit the step of boiling them first (add them raw in step 2)
Plantain (green banana) curry
Ingredients:
- 2 plantains
- ½ onion, minced
- 1 tbsp lime or lemon juice
- Spices: ¼ tsp turmeric, ¼ curry powder, 1 cm of cinnamon bark, ½ green chili
- 1 cup thin coconut milk
- Peel plantains (the green layer)
- Cut into large cubes, put into water with lime or lemon juice so that it doesn’t get dark
- Add all ingredients to a cooking pot and bring to boiling
- Ready when soft
Fried eggplant (brinjol) salad
The concept of salad seems to be somehow different in Sri Lanka. Not sure if I would call this dish a “salad”, but I leave here this traditional classification
- 3-4 small thin eggplants found in the Asian market (alternatively 1 bigger eggplant from a European supermarket ), cut into thin slices of approx. 2 mm
- coconut oil or another frying oil
- 2 shallots or 1 small onion, sliced
- 1 medium-sized tomato, diced into small pieces
- 1 lime juice
- Spices and flavors: ½ green chili, thinly sliced (optional), 1 tsp sugar (optional), ¼ tsp black pepper, ½ tsp chili flakes, salt
- Deep-fry eggplants slices until golden and crunchy. Cool them on the kitchen paper.
- Add other ingredients and mix
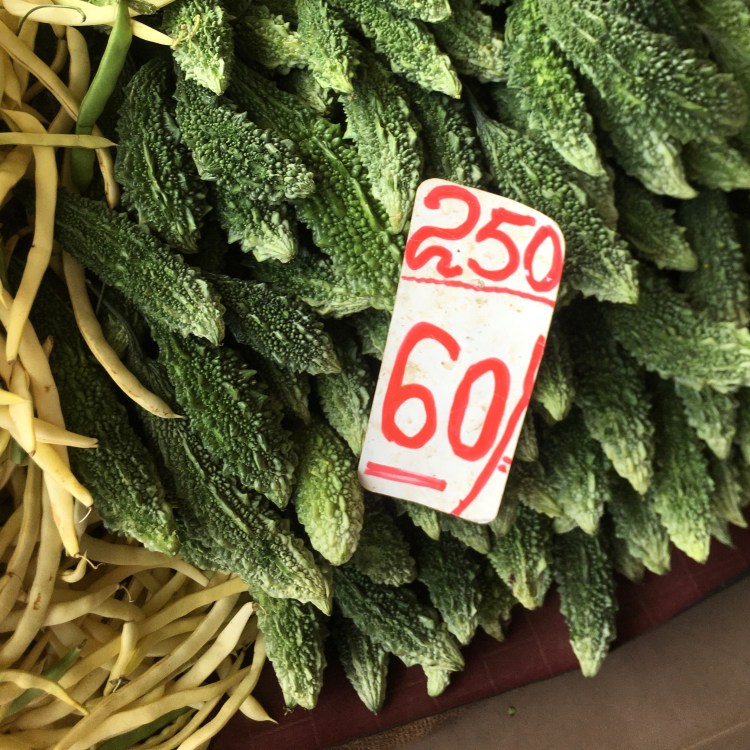
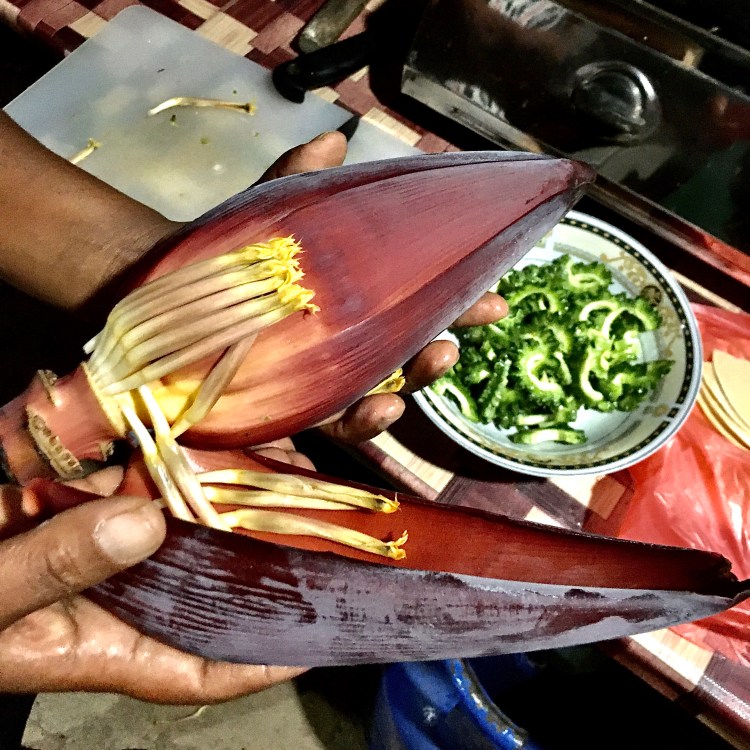
Another idea how to serve plantains is to deep fry the slices, like chips. It was a big hit in the ayurvedic retreat when we got them served as fried dishes were rare guests on the table. Other fried vegetables tried back in Sri Lanka were bitter gould (looking like a “crocodile cucumber” with its ridged skin) and banana flower, prepared same way as the eggplants
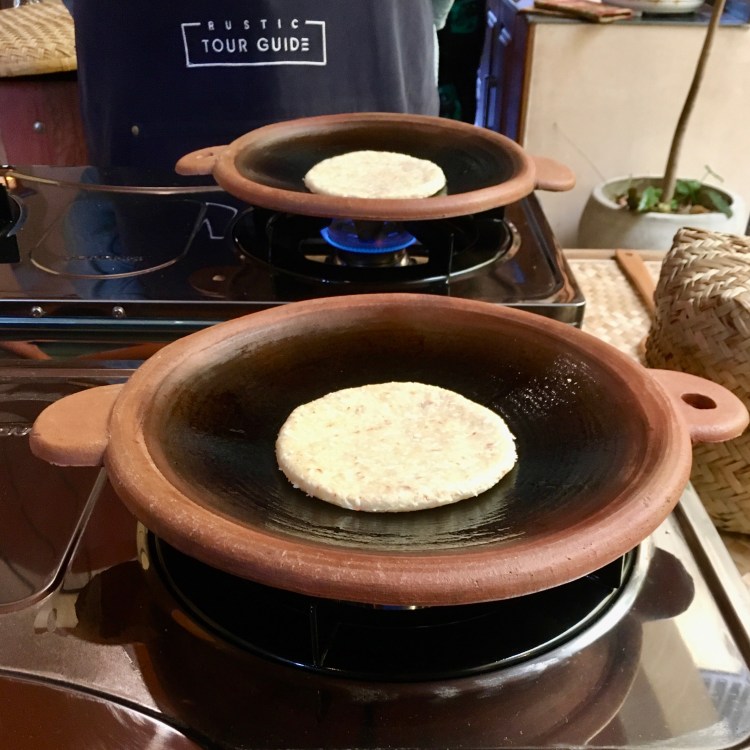
Coconut roti
Besides being very tasty, it is also a good way to decrease food waste as the grated coconut after coconut milk preparation can be used here. Of course, freshly grated coconut can be used as well – it will be more flavorful and rich, but I like as much the less calorie-dense version made with “leftovers”. Also, in contrast with many other flatbreads, it also tastes good cold on the next day, for example, for breakfast. I think it should also work to freeze the dough (currently in the freezer – I haven’t tried yet the results of this experiment)
The simplest version of it is just with chili (fresh green chilli or chilli flakes), which is my main version at home. You can add also onion to it or anything else what your cooking inspiration tells you to
Ingredients:
- 1 cup freshly grated coconut or after preparation of coconut cream or milk
- 1 tbsp vegetable oil of choice (ideally an oil with not too strong flavor, I use sunflower or rapeseed oil)
- ½ cup wheat flour (doesn’t need to be white) or another flour
- 1 tbsp chili flakes or 1-2 green chillies, minced
- ½ onion (optional), minced
- salt to taste
- 2-3 tbsp of water, coconut water or coconut milk
Instructions:
- Mix coconut, flour, oil, salt, water and chili flakes, if used, in a bowl. Knead with hands. It has to have consistency of thick dough that could be rolled or shaped, like a play-dough, not sticky
- Add the chopped ingredients (chillies and / or onion), if any
- Shape the dough into 3-4 cm balls
- Flatten the dough ball with hands into 2-3 mm thick disks, aiming for a circle-shape. For perfectionists, one can use the rolling pin to flatten the dough and cut out the disks with a knife around a cup, saucer or another circular object
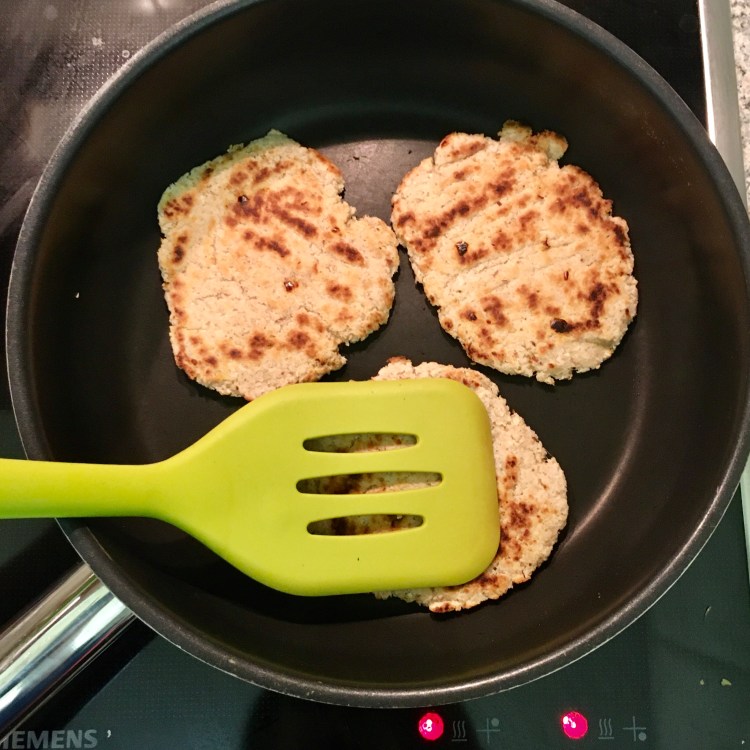
- Heat a pan, ideally with a thick bottom, on low-medium heat
- Cook (“dry) the disks on both sides until lightly brown, flipping every minute or so. The heat should be not too high so that they are not raw inside. Note: no oil needed
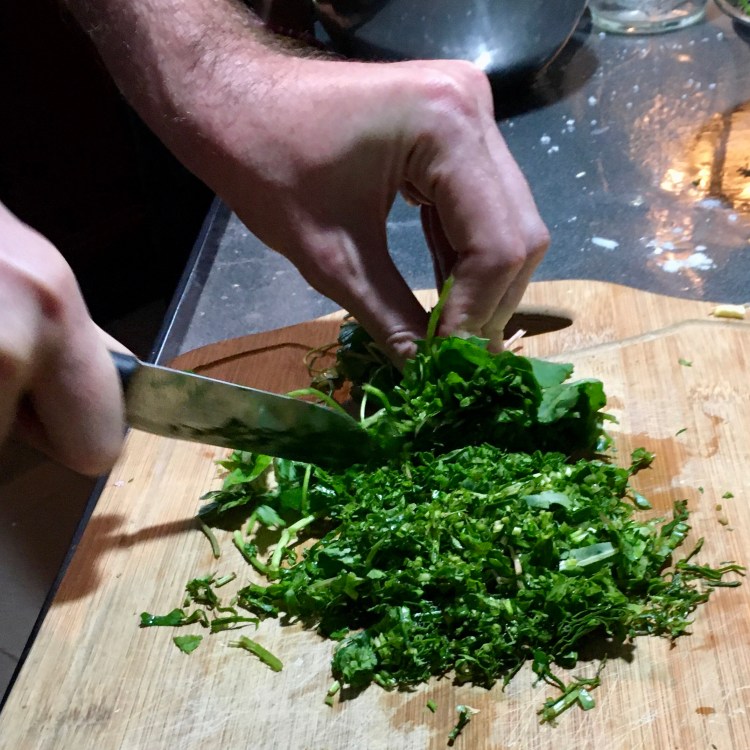
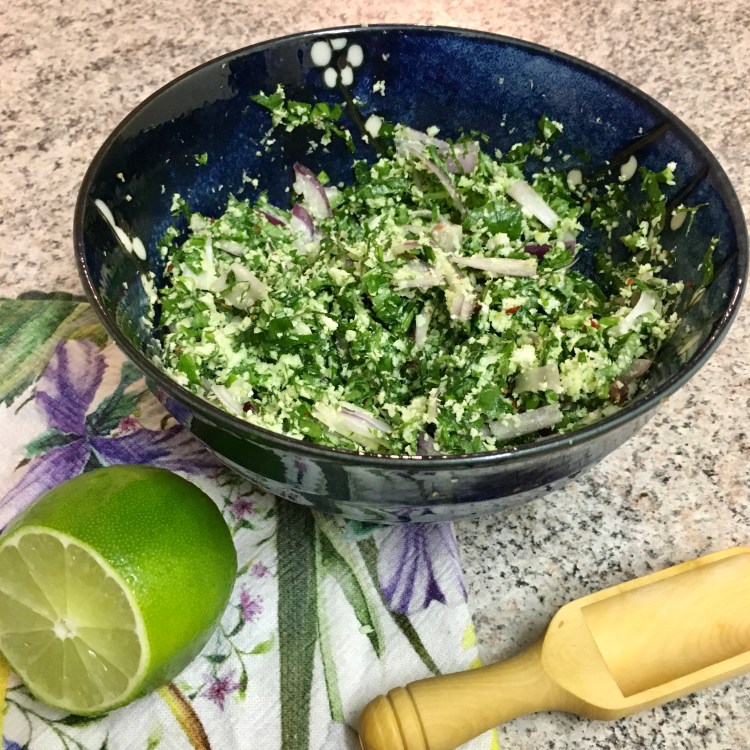
“Green sambol” (e.g. parsley or wild garlic sambol)
I’ve concocted the name “green sambol” as referring to a green salad, because for me it serves the same purpose: adding touch of freshness and contrast with the rest of the cooked or fried dishes, also supplying with vitamins and fibers. In Sri Lanka it would be gotukola sambol or mango leaves sambol, but as I cannot get hold of those ingredients back at home, for me it is parsley sambol or wild garlic sambol, as it is the season for the latter right now
Ingredients:
- 1 bundle of parsley
- 1 medium-sized red onion
- 4-5 tbsp grated coconut
- ¼ lime juice
- 1 tsp Maldive fish flakes (optional)
- 1 green chili, chopped (if not available, ½ tsp chilli flakes)
- Slice parsley very thinly (1mm stripes)
- Mince the onion
- Add all ingredients and mix well
Coconut (pol) sambol
It can be eaten with almost any Sri Lankan meal. I think it is also lovely for breakfast with bread and tomato. The recipe received says it can be also a dip for potatoes in Western cuisine
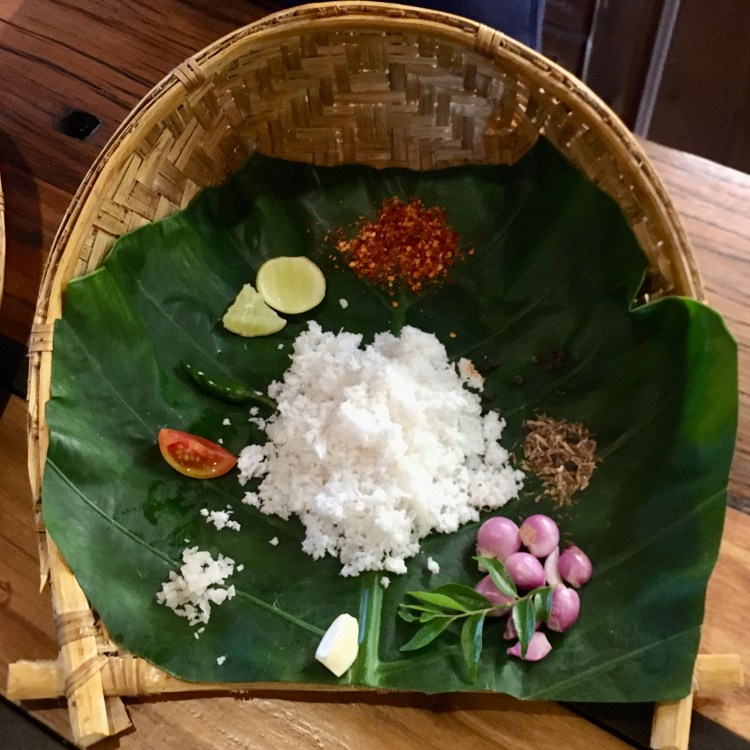


Ingredients:
- ½ cup of freshly grated coconut or rehydrated dessicated coconut (adding a bit of water and keeping for 30 minutes or so)
- 1 garlic clove (optional)
- 3-4 small shallots or ½ medium onion
- Spices and flavors: ½ green chili, minced (optional), ½ tsp salt, 1 tsp – 1 tbsp chili flakes (depending how spicy you want it to be), ¼ tsp black pepper powder or 5-6 peppercorns, a few fresh curry leaves (optional and also not so easy to get, but it is sooo much better with them), 1 tbsp maldive dry fish (optional)
- ½ lime juice
- ¼ tomato (optional)
Technique 1:
- Place shallots, garlic, tomato if used, spices into a mortar and use a pestle to pound the mixture into a thick paste
- Add the grated coconut and keep pounding until the coconut is of uniform orange color. If mortar is too small for all ingredients to fit in, add small portion of coconut, pound it and then transfer everything to a bowl and mix with the remaining coconut
- Squeeze in the lime juice
- Mix well
Technique 2:
- Mince shallots/onion, garlic, tomato (if used)
- Separately prepare the spice mix powder (in a mortar, grinder or just by using ingredients in a powder form)
- Mix everything together, traditionally done by hand
In my view, the first technique gives better results as the ingredients are better mixed, but the second technique works well too and more practical if one doesn’t have a big mortar
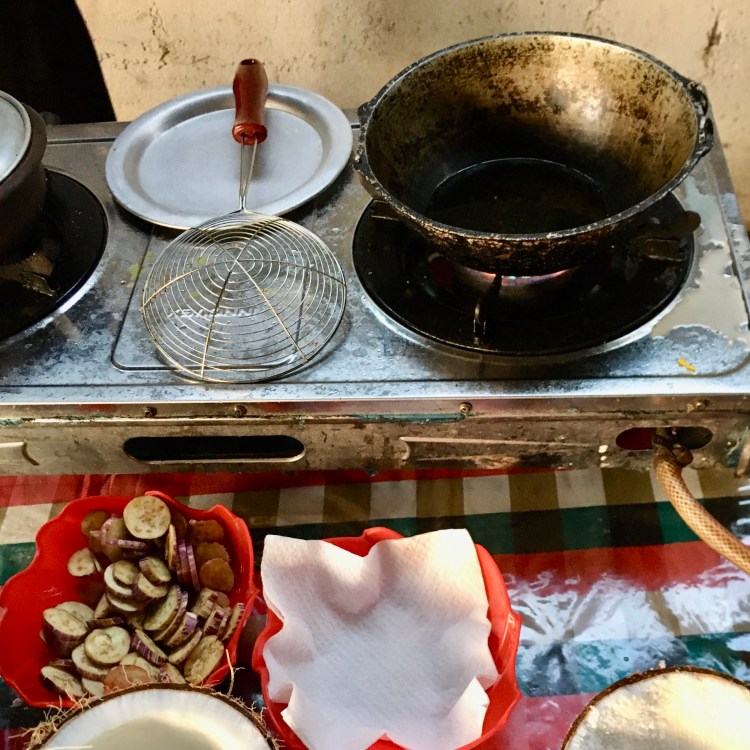
Cashew snack
I’ve heard about this snack from an English couple whom I’ve met at a cooking course in Ella. They were speaking wonders of it after having tried it in their guesthouse. This recipe is traditionally served as a snack, for example, with a beer, and was not part of standard cooking course “curriculum”. As my time in Sri Lanka was running out, I’ve asked my lovely hosts at in my last homestay Still Waters in Negombo (I definitely can recommend this place as it is beautiful and very welcoming – I’ve left a piece of my heart there), if it would be possible that they show how to prepare this snack
By the same occasion I’ve learned that cashews are very special in Sri Lanka – despite growing locally, they are quite scarce and relatively expensive, making it a treat for the special occasions
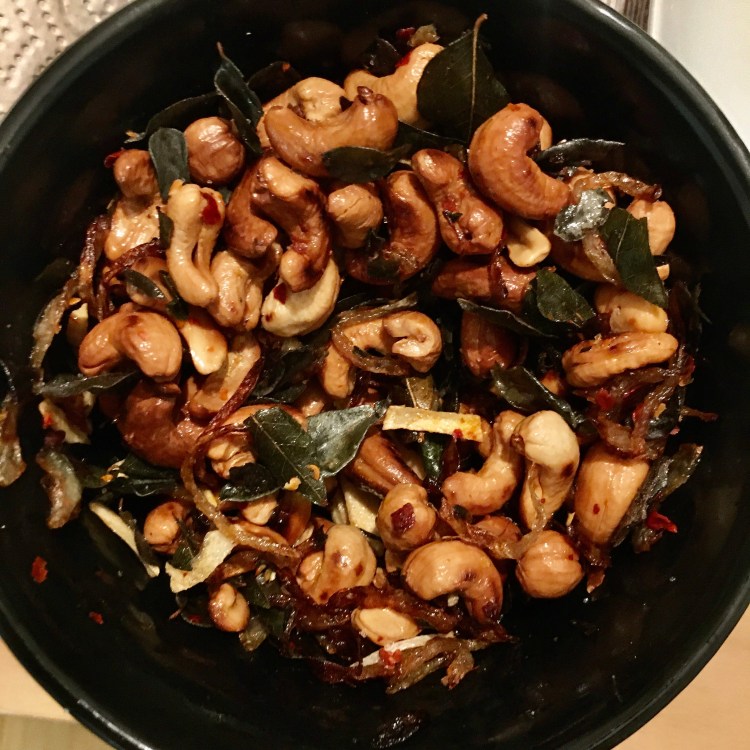
It is not the lightest snack (all ingredients are deep fried), but I am very glad I have learned this recipe, as it is really addictive and was a hit among my friends. It is lovely also eaten together with rice and curries, adding the crunchy texture to the mix
Ingredients:
- 200g cashews, roasted
- 1 small red onion, thinly sliced
- 2 garlic cloves, thinly sliced
- approx. 30 curry leaves
- red chili flakes, to taste
- salt
- coconut oil or another frying oil
Instructions:
- Deep-fry all the ingredients separately on medium-high heat until golden and crispy. For curry leaves decrease the heat not to burn them (it works both with fresh and fried leaves)
- Place all ingredients on the kitchen paper towels to remove the excess of oil
- Add chili flakes and salt. Mix
Enjoy!
Stay home, stay healthy and keep cooking!
